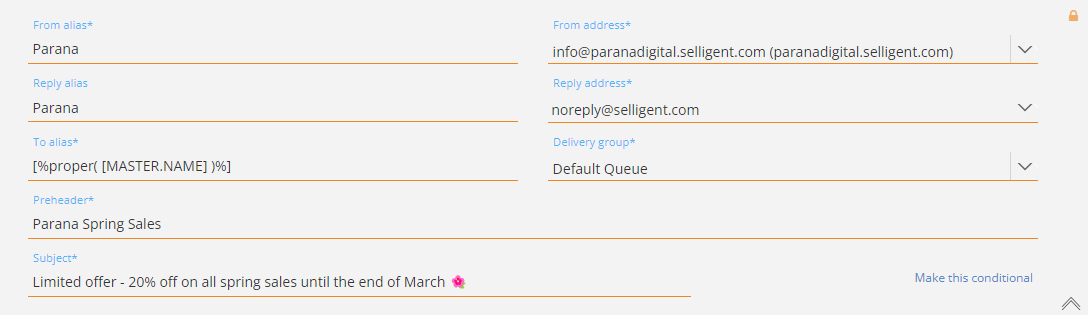
In the previous step, the email header has been configured.
Now, we're going to extract the text version.
Note: Each email message must have a text version because, in some cases, the recipient's email client is unable to read the HTML version and the text version is used instead. A text version is automatically extracted upon publish (more info can be found here), but we opt for a manual text version extraction that can be customized afterward.
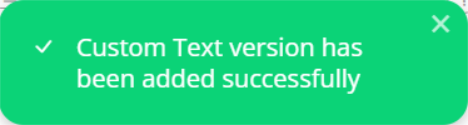
To generate a manual text version, click 'Add custom text version' from the drop-down next to the gear icon, available in the toolbar.

A confirmation message is shown.
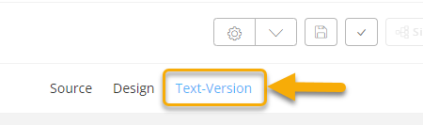
After the custom text version has been added, you can switch to the text version by selecting 'Text-Version' at the top of the Design panel.
The text version of your email looks like this :
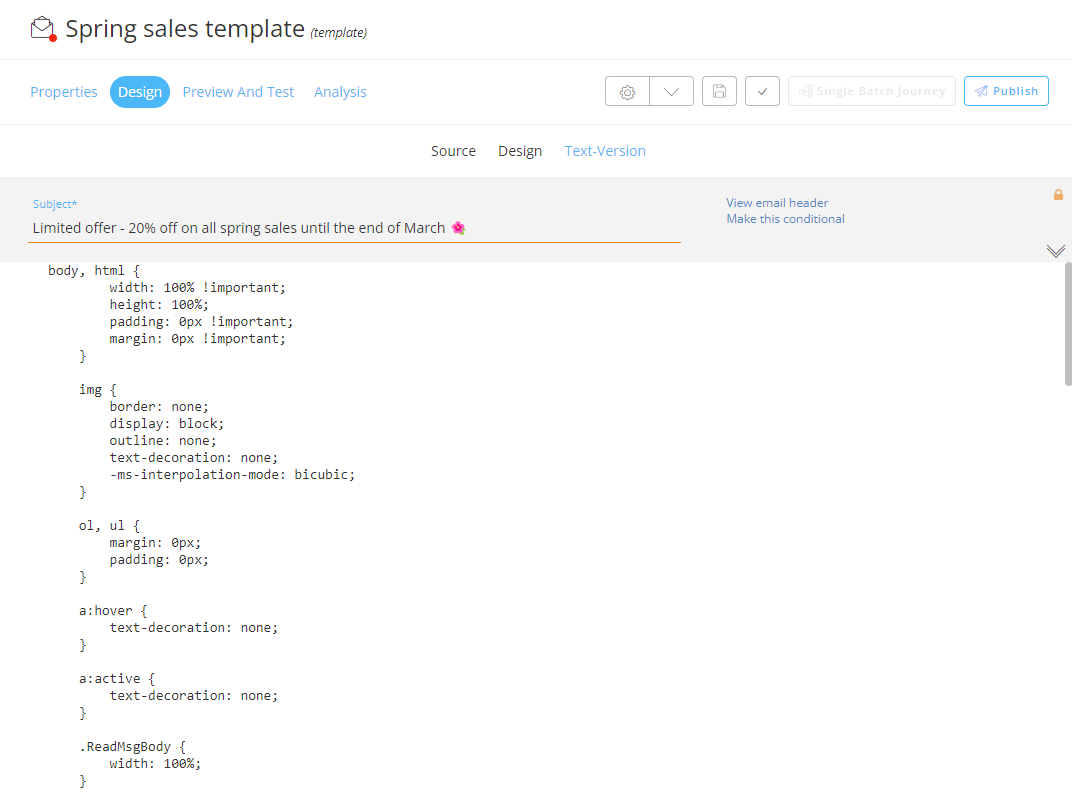
Styling and texts (with and without links) are there. Images won't be shown in the text version.

In case you want to, it's possible to click on any content area in the text version and apply modifications.
But as all texts and links look as expected in our example, we don't need to apply any tweaking.
You can switch back and forth between the 'Design', 'Source' and 'Text-Version' modes whenever you want.
Note that the following rules apply :
- content changes done in one mode, automatically apply to the other mode as well (for example changing the actual text inside a text component)
- removing a component in the Text Version doesn't automatically remove it from Design Mode (as the component may not make sense in the text version of the message, while it makes sense in Design mode)
- removing a component in Design Mode automatically synchronizes the Text Version
Note: More info on the text version of a message can be found here.
Don't forget to save the email !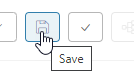
Next up is the testing/previewing of the email template.
| STEPS : |
|---|
| 1. Import file |
| 2. Personalize Content |
| 3. Add email header |
| 4. Extract text version |
| 5. Test/Preview the email template |
| 6. Create a basic journey to send out the email template to contacts |
